Dermaplaning at home can make skin feel smoother and makeup sit better—but only if you treat it like a precision shave, not a fast “scrape.” The biggest causes of redness and breakouts are wrong angle, too much pressure, dull blades, and doing it on the wrong skin type at the wrong time.
Disclosure: Some links may be affiliate links. As an Amazon Associate I earn from qualifying purchases.
First: Who should NOT dermaplane at home?
Skip dermaplaning (or ask a dermatologist first) if you have:
- Active acne (especially inflamed pimples/cysts)
- Open cuts, sunburn, rashes, eczema/psoriasis flares
- Very reactive skin that gets red easily from minor friction
- Recently used strong actives and your skin feels “raw”
- A history of keloids or poor healing (be extra cautious)
You can still do it if you’re acne-prone—but avoid active breakouts and keep it gentle.
The goal (what dermaplaning actually is)
Dermaplaning is basically controlled exfoliation + peach fuzz removal. Done correctly, it removes:
- Fine vellus hair (“peach fuzz”)
- Dead skin buildup on the surface
It should feel smooth and light, not painful.
Prep steps (this is where most people mess up)
1) Pick the right day
Best time: night, when you don’t need makeup or sun exposure right after.
Avoid dermaplaning the same day as:
- Retinoids, strong acids (AHA/BHA), scrubs, peels
- Long sun exposure
- A brand-new product test
2) Cleanse, then fully dry
- Wash with a gentle cleanser
- Pat dry and wait 5–10 minutes
Dermaplaning on damp skin increases dragging and irritation.
3) Sanitize hands + blade
- Wash hands
- Wipe the blade with rubbing alcohol (let it dry)
This simple step helps prevent post-dermaplane bumps.
4) Optional: apply a slip layer (depends on your skin)
There are two common approaches:
- Dry dermaplaning (most control): best for experienced users
- Light slip (best for sensitive skin): a thin layer of a simple, non-comedogenic oil or gel can reduce friction
If you’re breakout-prone, choose a slip that you know doesn’t clog you—or go dry but ultra-light pressure.
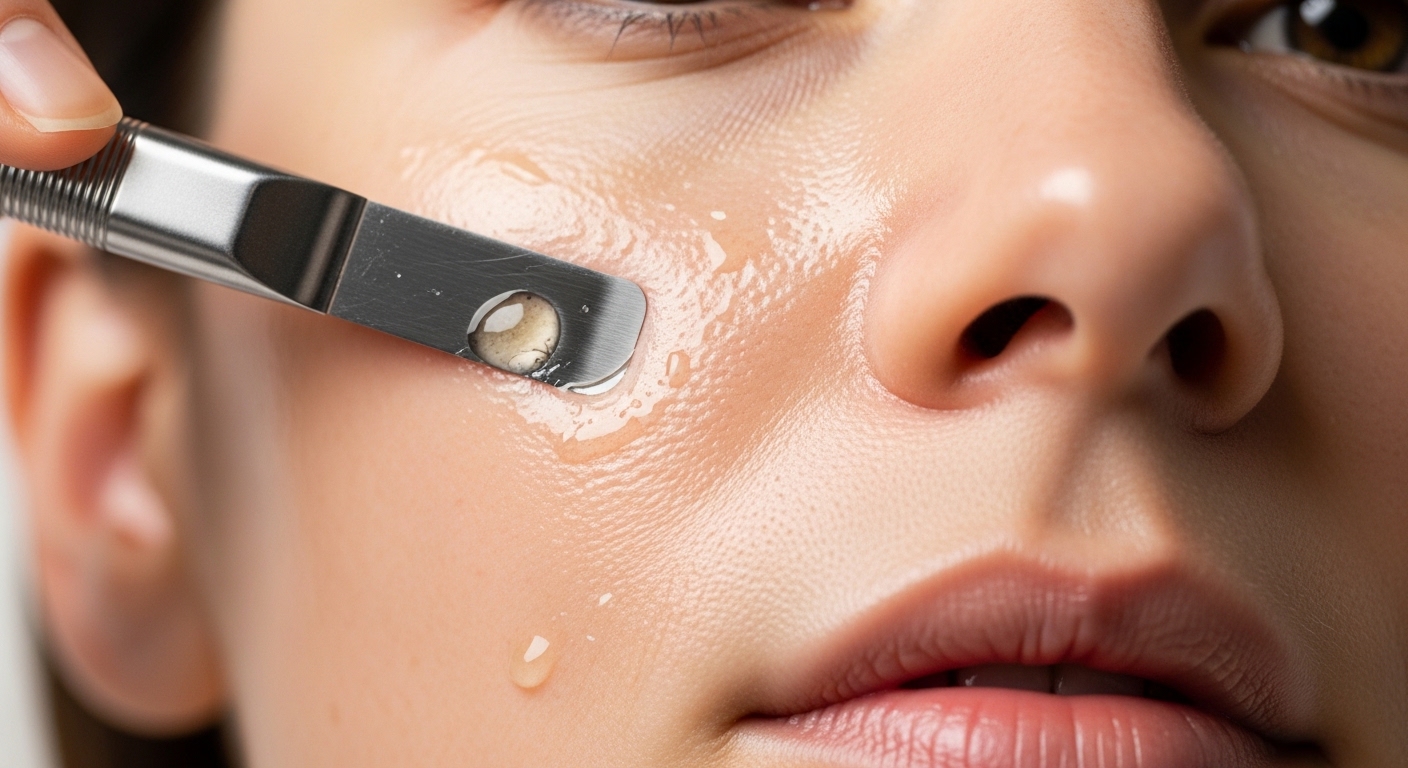
Blade angle (the #1 rule)
Aim for about 30–45 degrees
- Not flat against the skin
- Not straight up/down
How to visualize it:
Hold the handle so the blade is tilted—like you’re gently “skimming” the surface, not scraping.
Pressure rule
Use the lightest pressure possible. If you hear loud scraping or feel tugging, you’re pressing too hard or the blade is dull.
Step-by-step dermaplaning technique (10 minutes total)
Step 1: Section your face
Work in small zones:
- Cheeks
- Upper lip area (careful)
- Chin
- Jawline
- Forehead (optional; can be sensitive)
Step 2: Stretch the skin (big difference)
Use your free hand to pull skin slightly taut.
Taut skin = smoother glide = less nicks.
Step 3: Use short strokes
- 1–2 inch strokes
- Go downward (with the direction of peach fuzz growth)
- Wipe blade frequently with clean tissue/cotton
Don’t go over the same spot repeatedly. Two passes max per area.
Step 4: Avoid danger zones
Skip:
- Active pimples
- Around nostrils and corners of mouth (easy to nick)
- Eyelids
- Any irritated patches
How to avoid redness
Redness usually comes from too much friction. To prevent it:
- Keep angle at 30–45°
- Use light pressure
- Don’t do more than 2 passes
- Don’t dermaplane right after hot shower/steam (skin can be extra reactive)
- Don’t follow with strong actives the same night
If you get red easily
Try:
- A tiny bit of slip (gentle gel/oil you tolerate)
- Shorter sessions
- Dermaplane less often (every 3–4 weeks instead of weekly)
How to avoid breakouts
Post-dermaplane breakouts are usually caused by one of these:
- Using a dirty/dull blade
- Applying heavy products right after
- Dermaplaning over active acne
- Too frequent exfoliation
Breakout-proof routine:
- Clean skin + clean blade
- Aftercare = simple and soothing
- Avoid heavy occlusive products for 24 hours if you clog easily
- Change pillowcase that night if you’re acne-prone
Aftercare (what to do right after)
Immediately after
- Rinse with cool/lukewarm water (or gently wipe with damp cloth)
- Apply a basic, fragrance-free moisturizer
- If your skin likes it, a simple soothing serum is fine
What to avoid for 24–48 hours
- Retinoids, AHA/BHA acids, vitamin C (if it stings), scrubs
- Hot yoga/sauna (sweat + freshly exfoliated skin can irritate)
- Heavy makeup right away (if you break out easily)
- Direct sun exposure
The next morning
- Use sunscreen. Freshly exfoliated skin is more sun-sensitive.
How often should you dermaplane?
Most people do best with:
- Every 3–4 weeks for sensitive skin
- Every 2–3 weeks for normal/oily skin
If you’re doing it weekly and getting red or bumpy, you’re likely overdoing it.
Common mistakes (and quick fixes)
Mistake: “My skin feels raw after”
Fix: Less pressure + fewer passes + more time between sessions.
Mistake: “I got tiny bumps”
Fix: Blade sanitation + avoid heavy products after + don’t dermaplane over acne.
Mistake: “It tugged”
Fix: Dull blade or wrong angle. Replace blade and keep 30–45°.
Mistake: “I have nicks”
Fix: Stretch skin, use shorter strokes, avoid tricky corners.
Bottom line
To dermaplane safely at home:
- Prep with clean, dry skin
- Sanitize blade
- Hold the blade at 30–45°
- Use short downward strokes with very light pressure
- Keep aftercare simple, and avoid strong actives for 24–48 hours